What this does
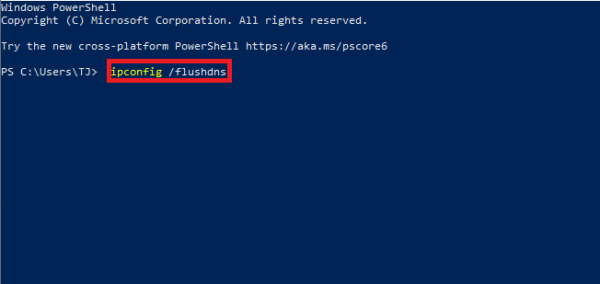
Flush DNS Cache, This PowerShell command clears the local DNS cache on a Windows computer. It forces Windows to re-check website addresses instead of using outdated or incorrect cached entries.
When you’d use this
- A website will not load but works for others
- A site has moved to a new server
- Internet works, but specific domains fail
- After changing DNS settings
PowerShell command (copy and paste)
Clear-DnsClientCache
What the output means
- The command runs silently if successful
- No message usually means the DNS cache was cleared
- There is no impact on saved files or applications
Common mistakes to avoid
- Expecting this to fix internet outages (it only affects DNS)
- Running it repeatedly without testing after each attempt
- Forgetting administrator access may be required on some systems
Efficiency tip (confirm DNS servers first)
Before flushing, check which DNS servers are in use:
Get-NetIPConfiguration
This helps confirm whether DNS is the likely issue.
Why this improves efficiency
- Faster than rebooting the PC
- Eliminates one of the most common connectivity problems
- Safe and low risk
- Ideal as a first troubleshooting step
Related PowerShell efficiency posts
- PowerShell Efficiency: The Fast Way to Manage Windows
- View IP and DNS information quickly using PowerShell
- Check when a Windows PC was last restarted
Related Posts
- PowerShell – The Fast Way to Manage Windows
- Test if a Network Port Is Open Using PowerShell
- View IP and DNS Information Quickly Using PowerShell
- Pull Recent System Errors Using PowerShell
- Check When a Windows PC Was Last Restarted
- Check Running Services Quickly Using PowerShell
Clearing your browser cache alongside DNS
If you’ve flushed the DNS cache but websites still aren’t loading correctly, or you’re still seeing outdated content, your browser’s own cache is likely the culprit. The DNS cache is only one layer – your web browser maintains its own separate cache of visited websites, images, scripts, and IP address mappings.
Most modern browsers (Chrome, Firefox, Edge, Safari) cache recently visited websites to speed up future visits. This cache can contain stale DNS information, outdated website versions, or redirects that prevent fresh lookups from your system’s DNS servers. Simply flushing the Windows DNS cache won’t clear these browser-level caches, so users often mistakenly think the flush didn’t work when the real problem is sitting in their browser’s storage.
How to clear cache in common browsers:
- Google Chrome: Press Ctrl+Shift+Delete, select “All time” under Time range, tick “Cookies and other site data” and “Cached images and files”, then click Clear data
- Microsoft Edge: Press Ctrl+Shift+Delete, choose “All time”, select the same options, and clear
- Firefox: Press Ctrl+Shift+Delete, select “Everything” under Time range, ensure “Cache” is ticked, then click Clear Now
- Safari: Click Develop in the menu bar, then select Empty Caches (or use Settings → Privacy → Manage Website Data for more control)
The recommended approach: Flush the DNS cache first using PowerShell, then immediately clear your browser cache. This ensures your browser won’t serve outdated cached content when it performs the fresh DNS lookup. Wait a few seconds after clearing before visiting the affected website – this allows time for both caches to fully clear.
If you’re still experiencing issues after both steps, the problem likely lies elsewhere. Try testing from a different device or using a different browser to isolate whether it’s browser-specific or a network-level issue. This two-step approach solves the vast majority of DNS-related browsing problems in under a minute.